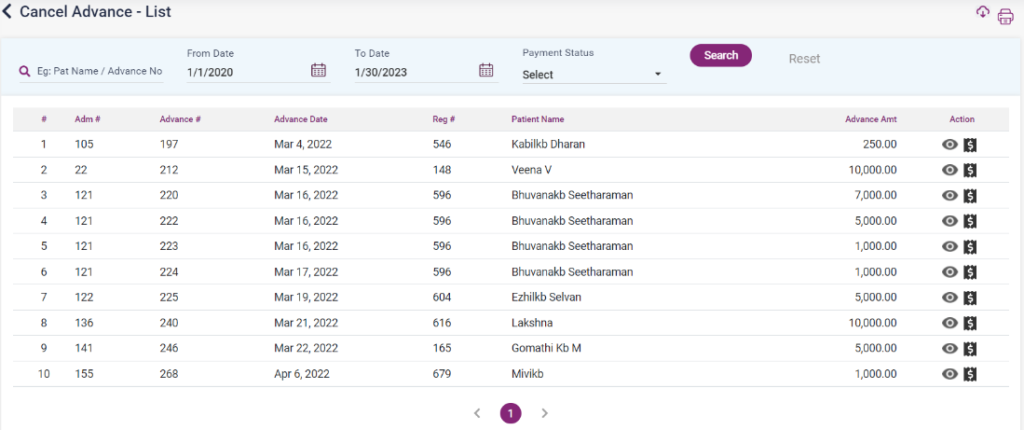
- If the advance paid for a particular IP patient has to be returned or canceled, it will be shown here.
- Go to the “Advance List” to cancel an advance and click on edit. On that page, click edit in advance if you want to cancel. The “Edit Advance Receipt” screen will be displayed on clicking edit.
- Select the “Cancel Advance” check box and the “Cancel Bill” button. Upon clicking, the entry will be shown on the cancel advance list page with the payment status as “No.”
- Click on the payment icon of the entry, enter the payment details, and select the “Save” button to save the entry. After that, the refund status will be set to “Yes.”
- Once the amount is refunded and updated, this entry will also be added to the Payment List page.
8.8.1. Cancel Advance List